
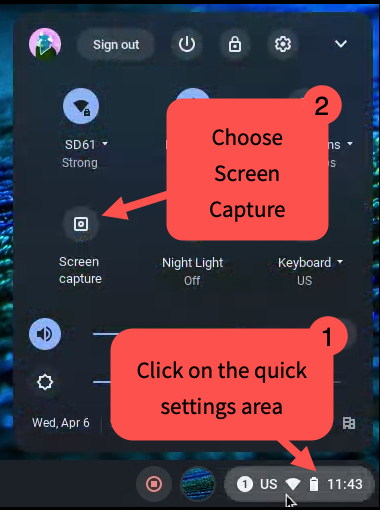
Chromebooks include their own built in screenshot and screen recording tool. There are two methods for opening the tool:
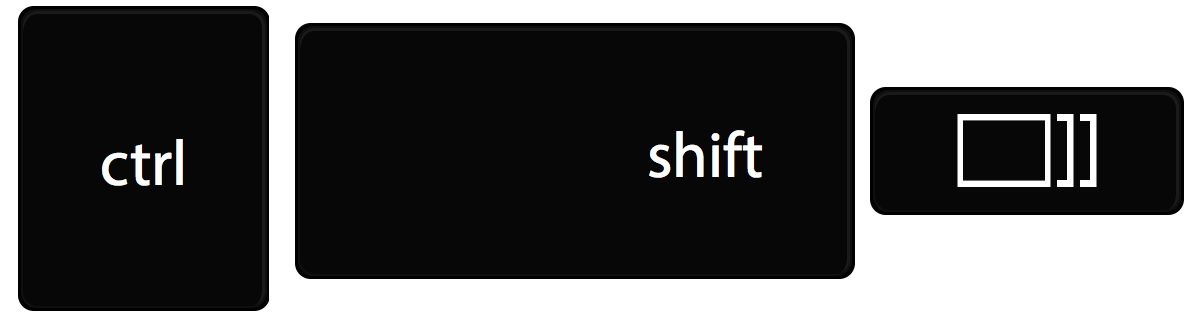
1. Use the keyboard shortcut: Ctrl+Shift+Display Toggle (top row of keys)
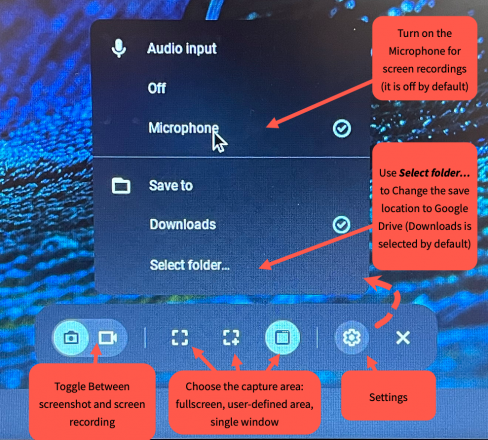
Setting up the shot
You can take static screenshots or videos with/without sound. Use the panel that appears to set your preferences. It is also a good practice to have students set the save location to their Google Drive before recording. This makes it easier for them to locate the recording, and prevents the Chromebook’s local memory from filling up too quickly. Chromebooks with full memory will not function properly, and may require a visit from your school tech to do a reset.
Ending a video recording
A stop button appears in the taskbar when a video recording is initiated. Click the button to stop the recording.

Video Formats
Screen recordings are captured in the .webm format. This is a video compression scheme that is compatible with most browsers, but not all video editing software (ex. iMovie) can decode it. If you want to edit video with an iPad please make sure you do your screen captures with an iPad.